Begin with a complete overview
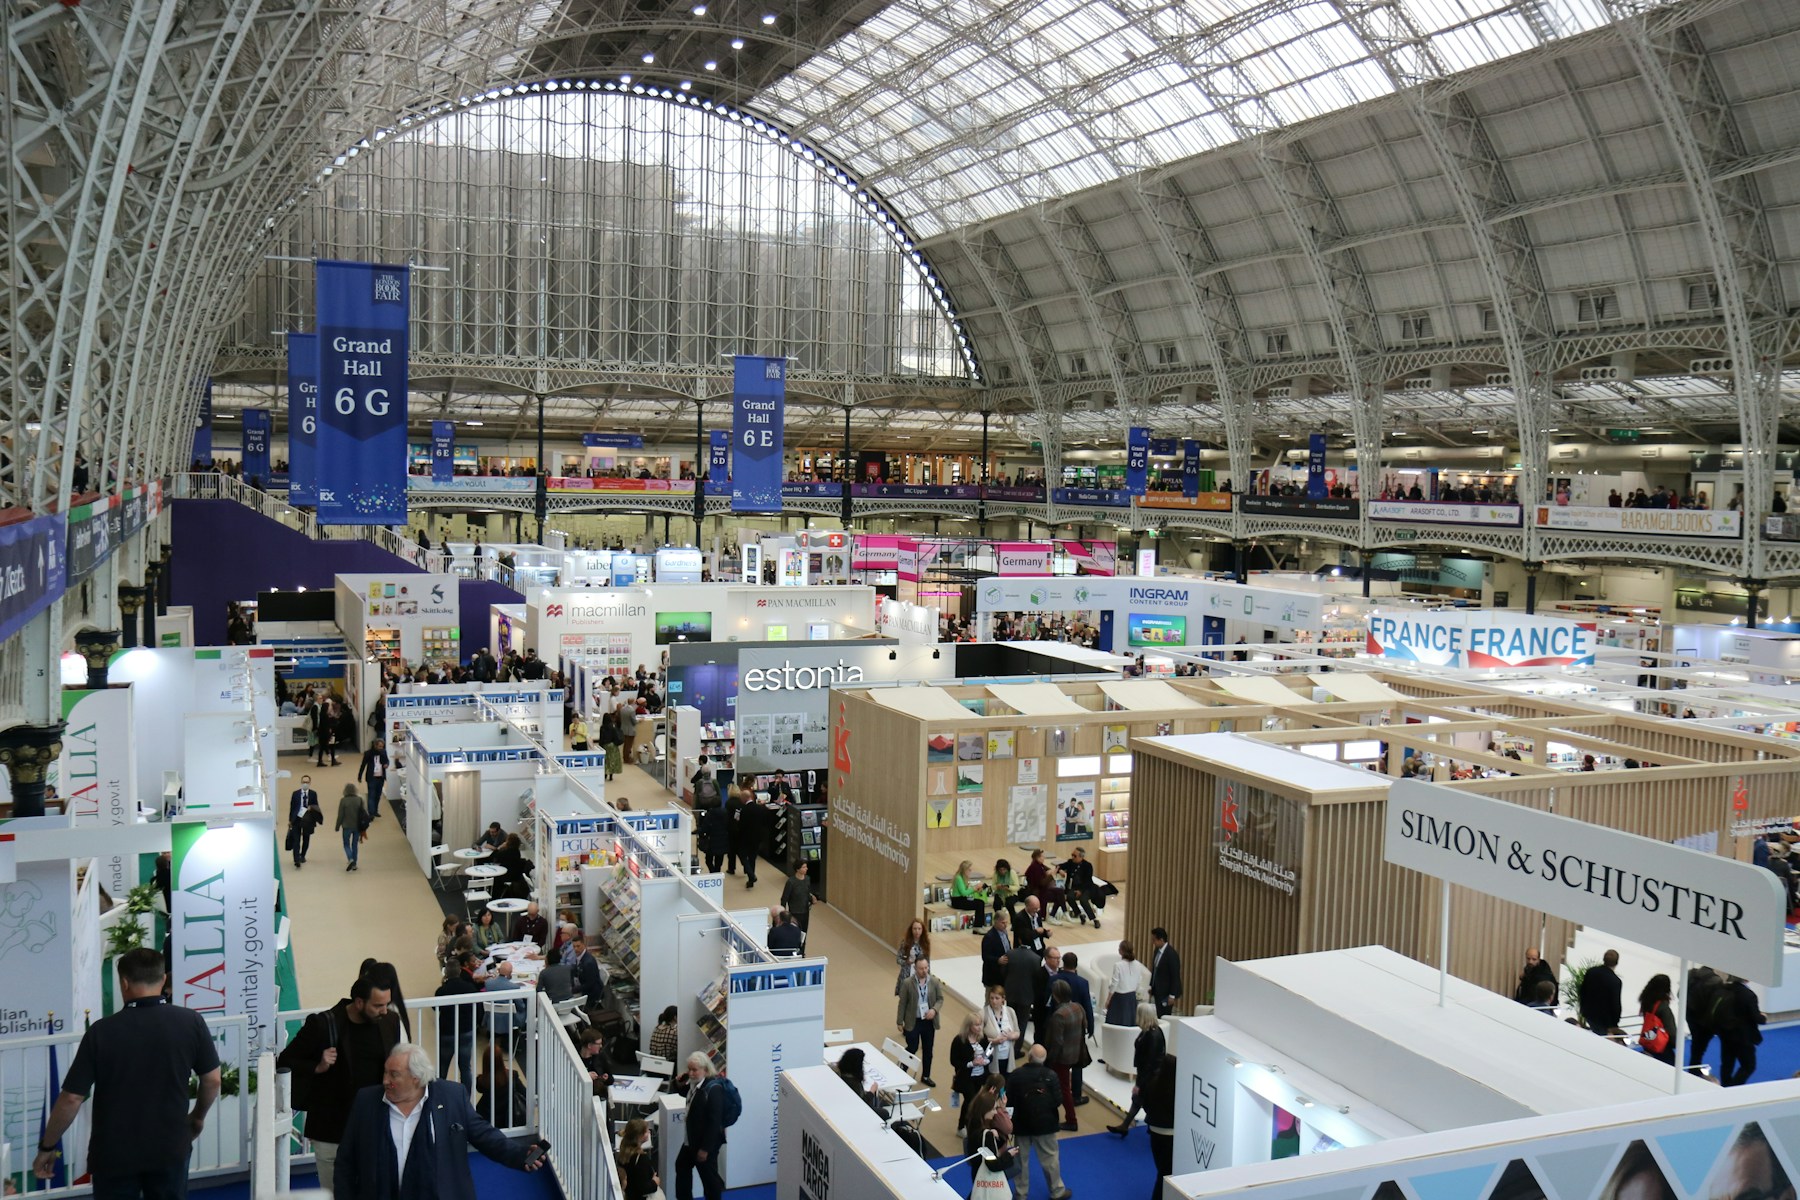
Photograph the finished stand before visitors arrive when this is possible and permitted. Start with an overview from the aisle without obstructing other routes. The image should show the entrance, exhibits and meeting spaces. An attractive close-up of the logo does not explain those relationships to the next assembly team.
Add views from the other accessible sides. Make sure furniture and signage remain visible rather than being hidden by bags or temporarily parked cartons. Record the arrangement that has actually been approved, not an intermediate stage with unfinished work still waiting to be resolved.
Choose details around future questions
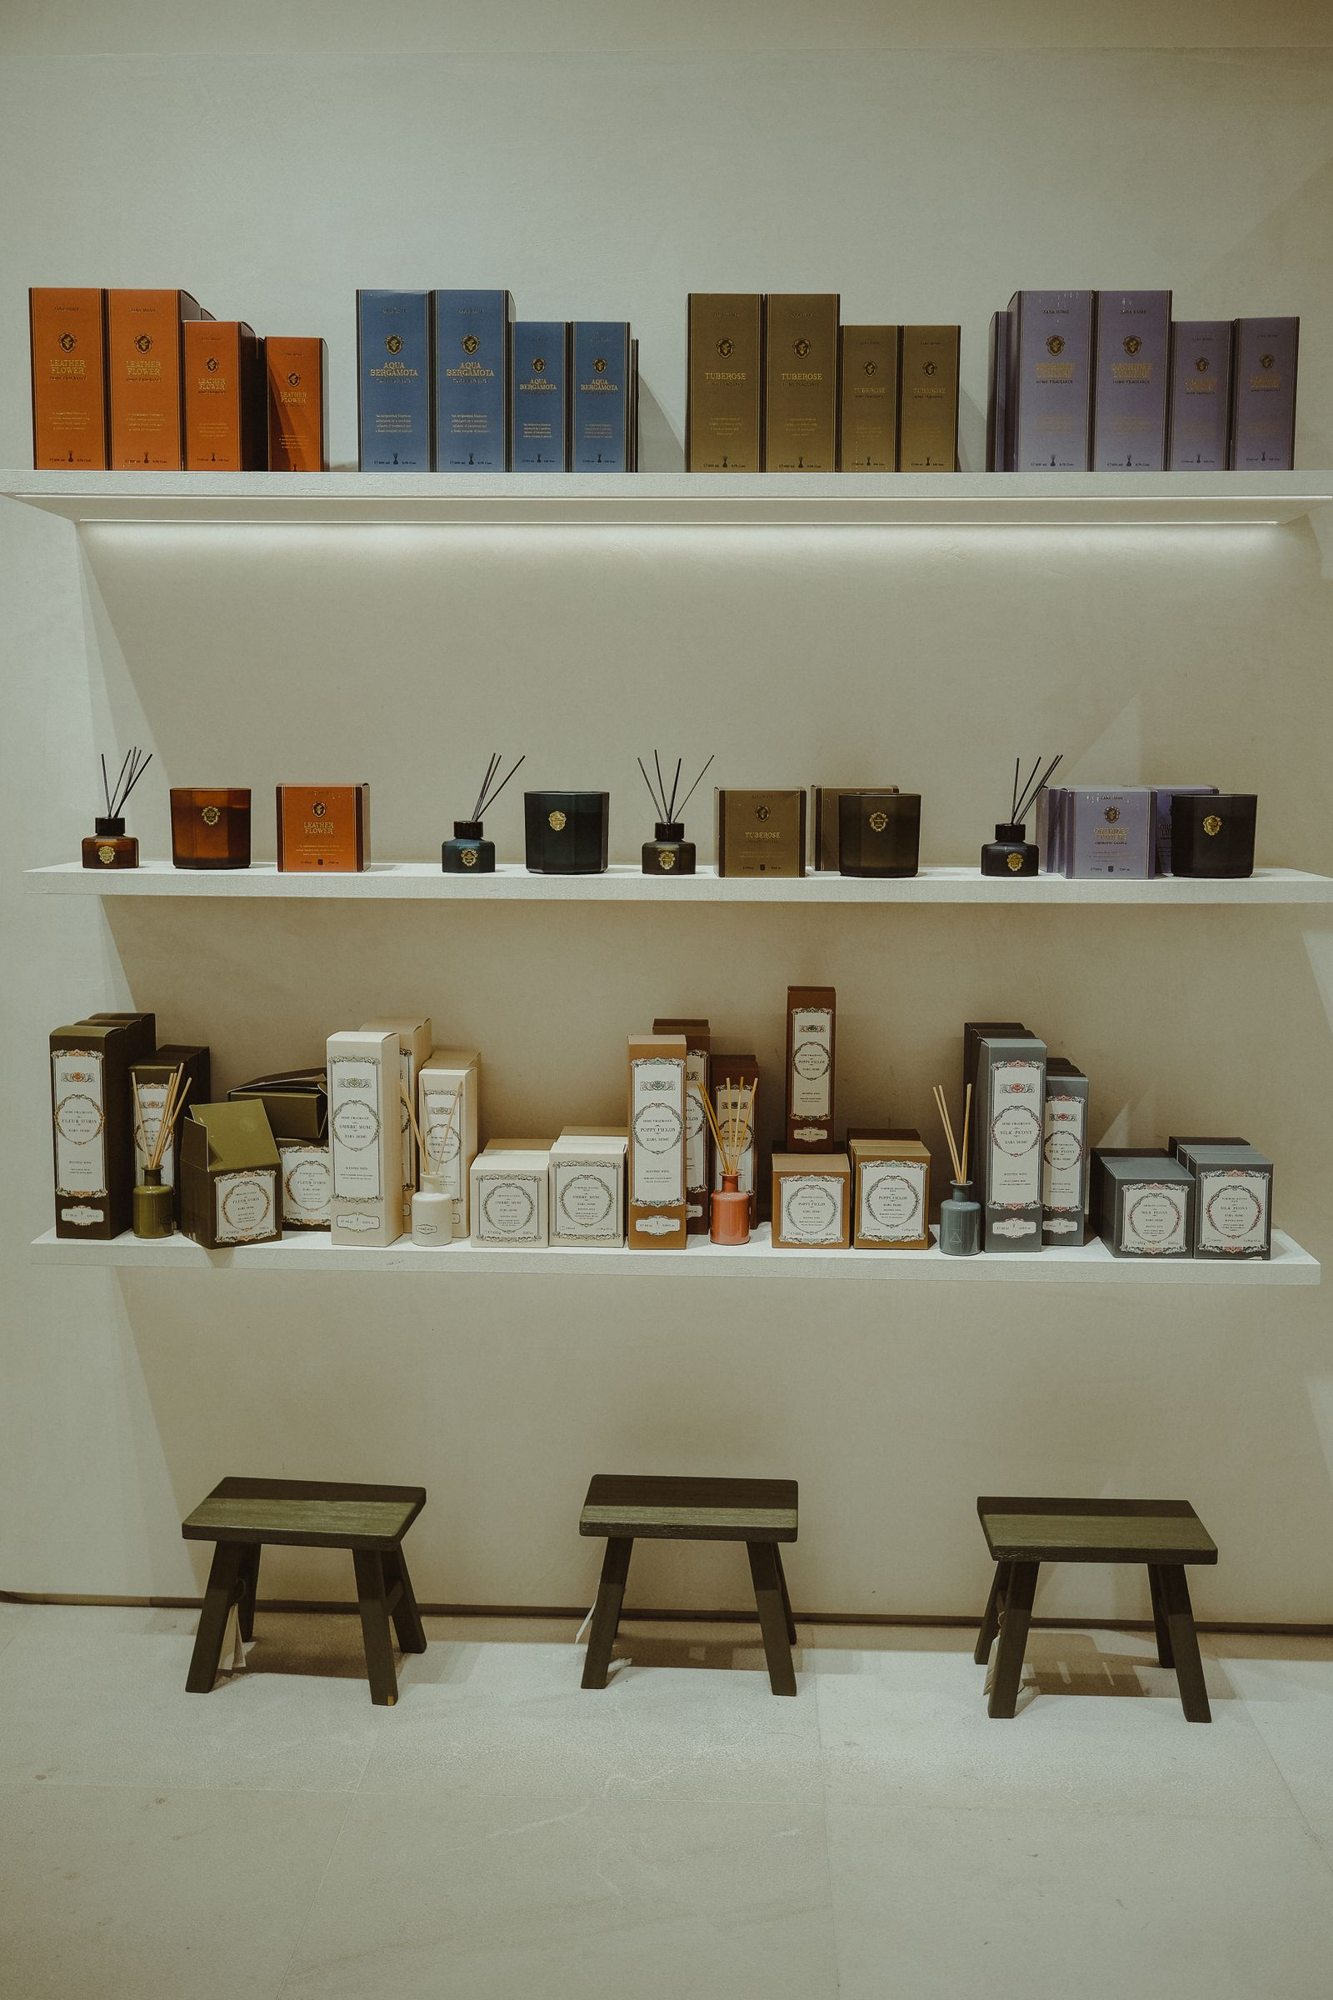
Consider what will be difficult to remember next time. It might be the order of small samples, the allocation of shelf compartments or the position of labelled reserve materials. Photograph those details with enough surroundings to establish their location. An isolated close-up without context often becomes puzzling later.
Images of technical areas are orientation aids only. They do not replace plans, instructions or professional inspection. Avoid capturing passwords, open customer documents and personal belongings. Also check the organiser's rules and other exhibitors' interests before including parts of neighbouring stands in your images.
Store the files as working material
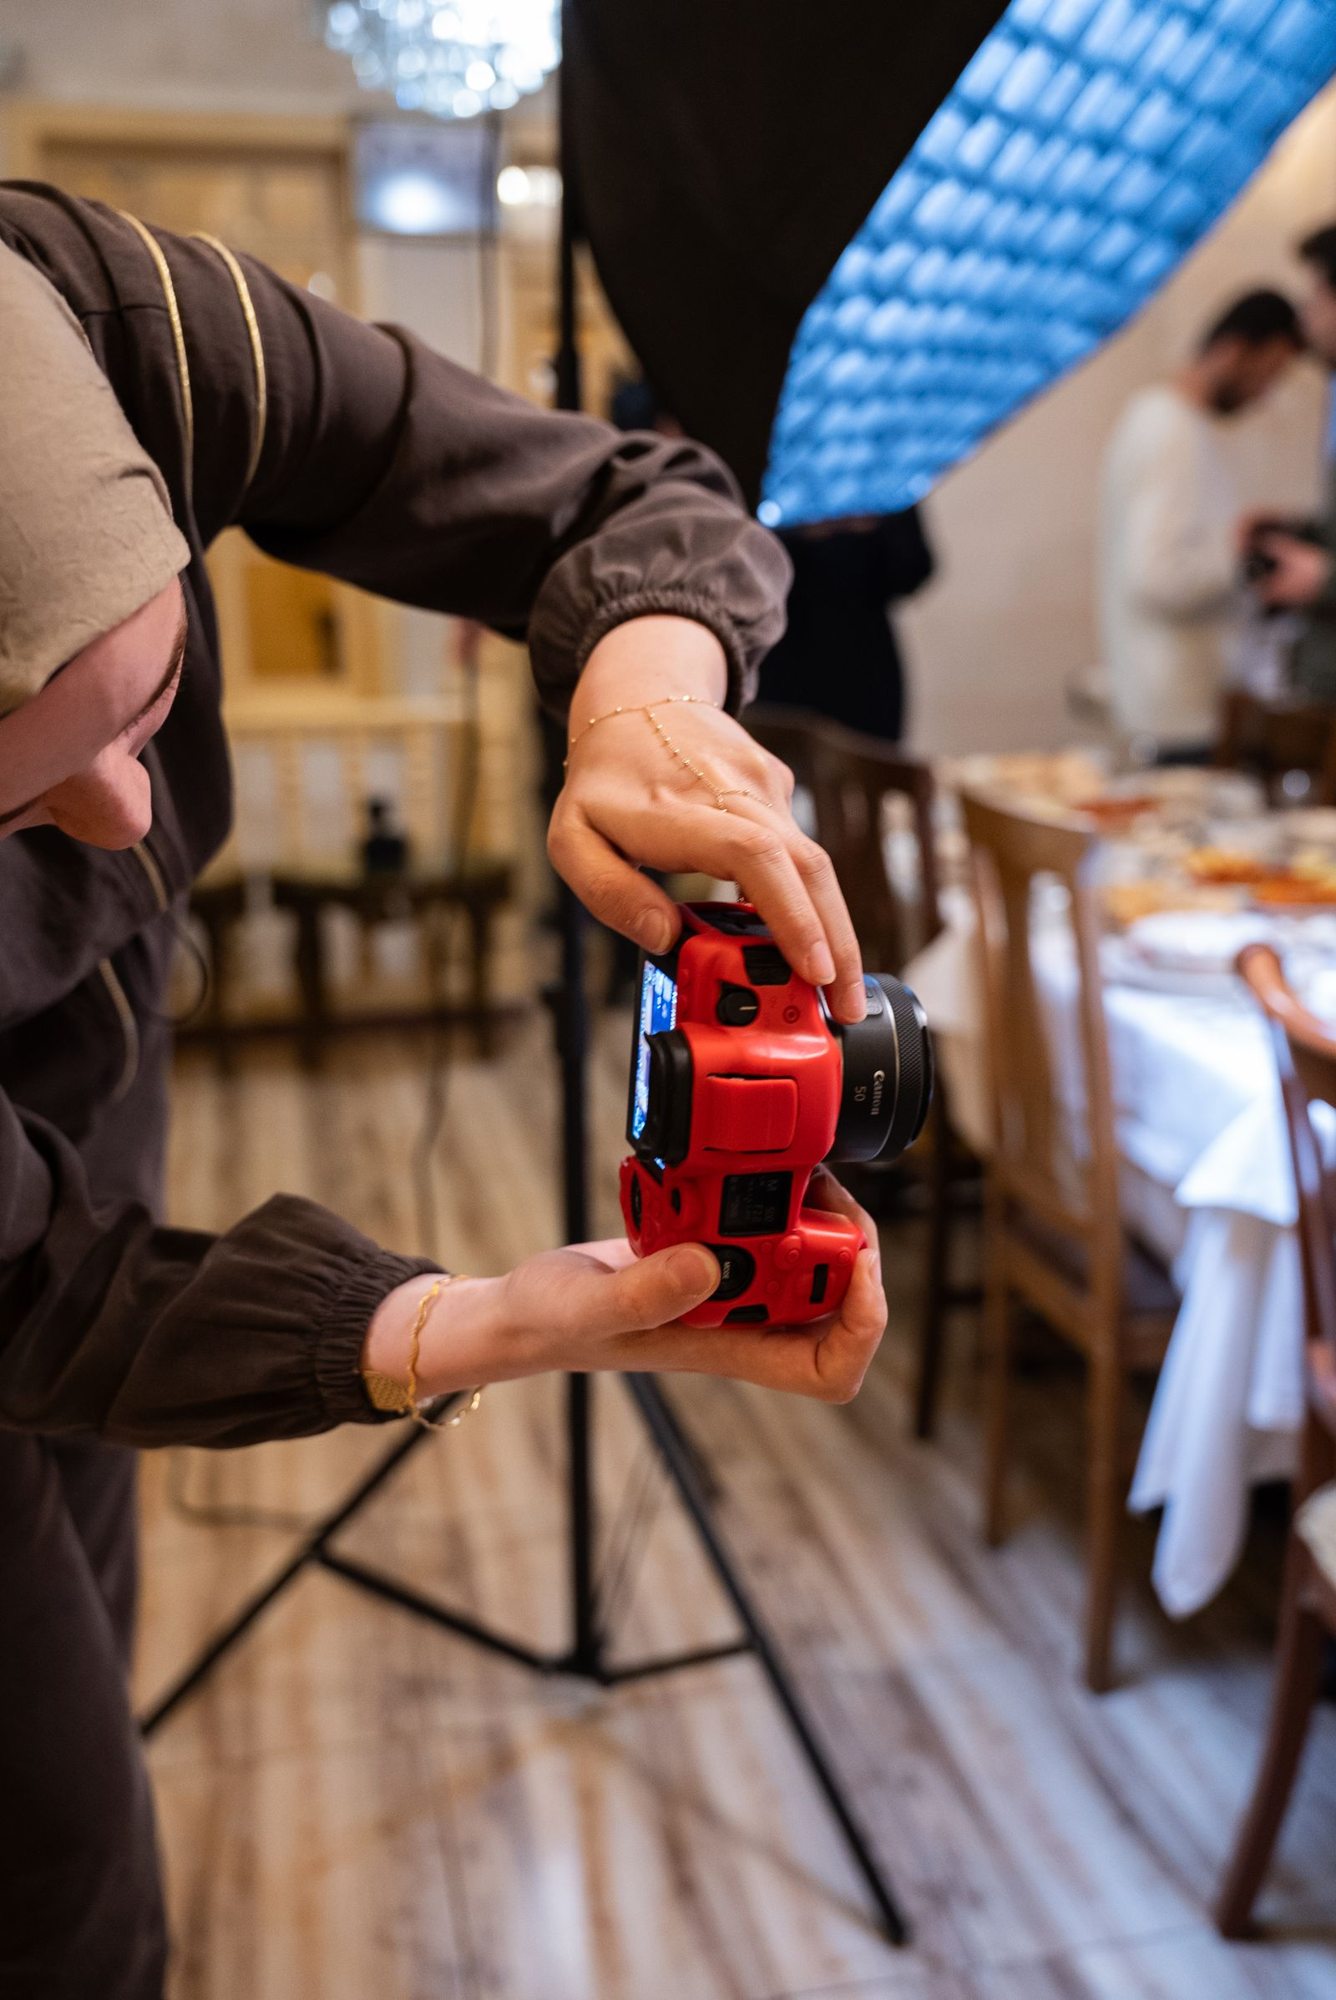
Name images by event, view and purpose. A sequence of arbitrary camera numbers becomes harder to use after several months. Put a small selection in the shared project folder and add short notes about special circumstances, such as a table position chosen only for that particular hall layout.
Record what did not work as well. Otherwise, the next team may copy an awkward arrangement simply because it looks tidy in a finished photograph. Separate internal documentation from images intended for publication. A working reference and a picture for the company website have different selection criteria, even when they show the same stand.